原生webview的h5如何跟aiwork交互

40

主题

190

回帖

664

积分

管理员

积分
664
原生webview的h5如何跟aiwork交互
<!DOCTYPE html>
<html lang="en">

<head>
<meta charset="UTF-8">
<title>合并页面</title>
<meta name="viewport" content="width=device-width, initial-scale=1.0">
<style>
body {
background-color: #fff; /* 改为白色 */
color: #333; /* 调整文字颜色以匹配白色背景 */
font-family: Arial, sans-serif;
padding: 20px;
}

.navbar {
background-color: #f0f0f0; /* 改为浅色以与白色背景区分 */
padding: 10px;
display: flex;
justify-content: space-around;
color: #000;
}

.navbar a {
text-decoration: none;
color: inherit;
font-weight: bold;
}

.section, .submenu {
background-color: #fff; /* 改为白色 */
color: #333; /* 调整文字颜色 */
padding: 20px;
margin-bottom: 20px;
border-radius: 10px;
box-shadow: 0 0 10px rgba(0, 0, 0, 0.1);
}

.section input[type="checkbox"],
.submenu input[type="checkbox"],
input[type="radio"],
input[type="text"],
select,
button {
color: #333; /* 调整文字颜色 */
background-color: #ddd; /* 改为浅色 */
border: none;
border-radius: 5px;
padding: 10px;
margin-right: 10px;
box-sizing: border-box;
}

button {
background-color: #4CAF50;
width: 60%;
font-size: 20px;
cursor: pointer;
margin-top: 20px;
color: #fff; /* 按钮文字颜色 */
}

h1 {
color: #e91e63;
}
</style>
</head>

<body>
<div class="navbar">
<a href="#">首页</a>
<a href="#">话术</a>
<a href="#">选择平台</a>
<a href="#">配置</a>
<a href="#">其他</a>
</div>

<h1>合并页面</h1>

<div class="section">
<h2>超级延迟</h2>
<input type="checkbox" id="charDelay" name="charDelay">
<label for="charDelay">按打字数量延迟</label>
<!-- 省略其他选项... -->
</div>

<div class="submenu">
<h2>招呼设置</h2>
<input type="checkbox" id="fixed-greeting" name="fixed-greeting">
<label for="fixed-greeting">钉定招呼语---勾选生效</label>
<input type="text" placeholder="请输入招呼1">
<input type="text" placeholder="请输入招呼2">
<input type="text" placeholder="请输入招呼3">
</div>

<!-- 省略其他部分... -->

<form>
<div class="section">
<h2>定时</h2>
<input type="checkbox" id="enableTiming" name="enableTiming">
<label for="enableTiming">开启定时</label><br>
<!-- 省略其他选项... -->
</div>

<button type="button" onClick="callHelloAI();">调用原生方法</button>
<button type="button" onClick="runJS();">执行脚本代码</button>
<button type="button" onClick="runJsFile();">执行脚本文件</button>
<button type="button" onClick="sendText();">传递控件值</button>
</form>

<script language="JavaScript">
function callHelloAI() {
window.at.callFun('main', 'hello');
}

function runJS() {
window.at.runJs(function () {
printl("你好");
auto.recents();
}.toString());
}

function runJsFile() {
window.at.runJsFile('主脚本.js');
}

function sendText() {
var inputValue = document.getElementById('input1').value;
window.at.runJsFile('测试传值.js');
}
</script>

</body>

</html>


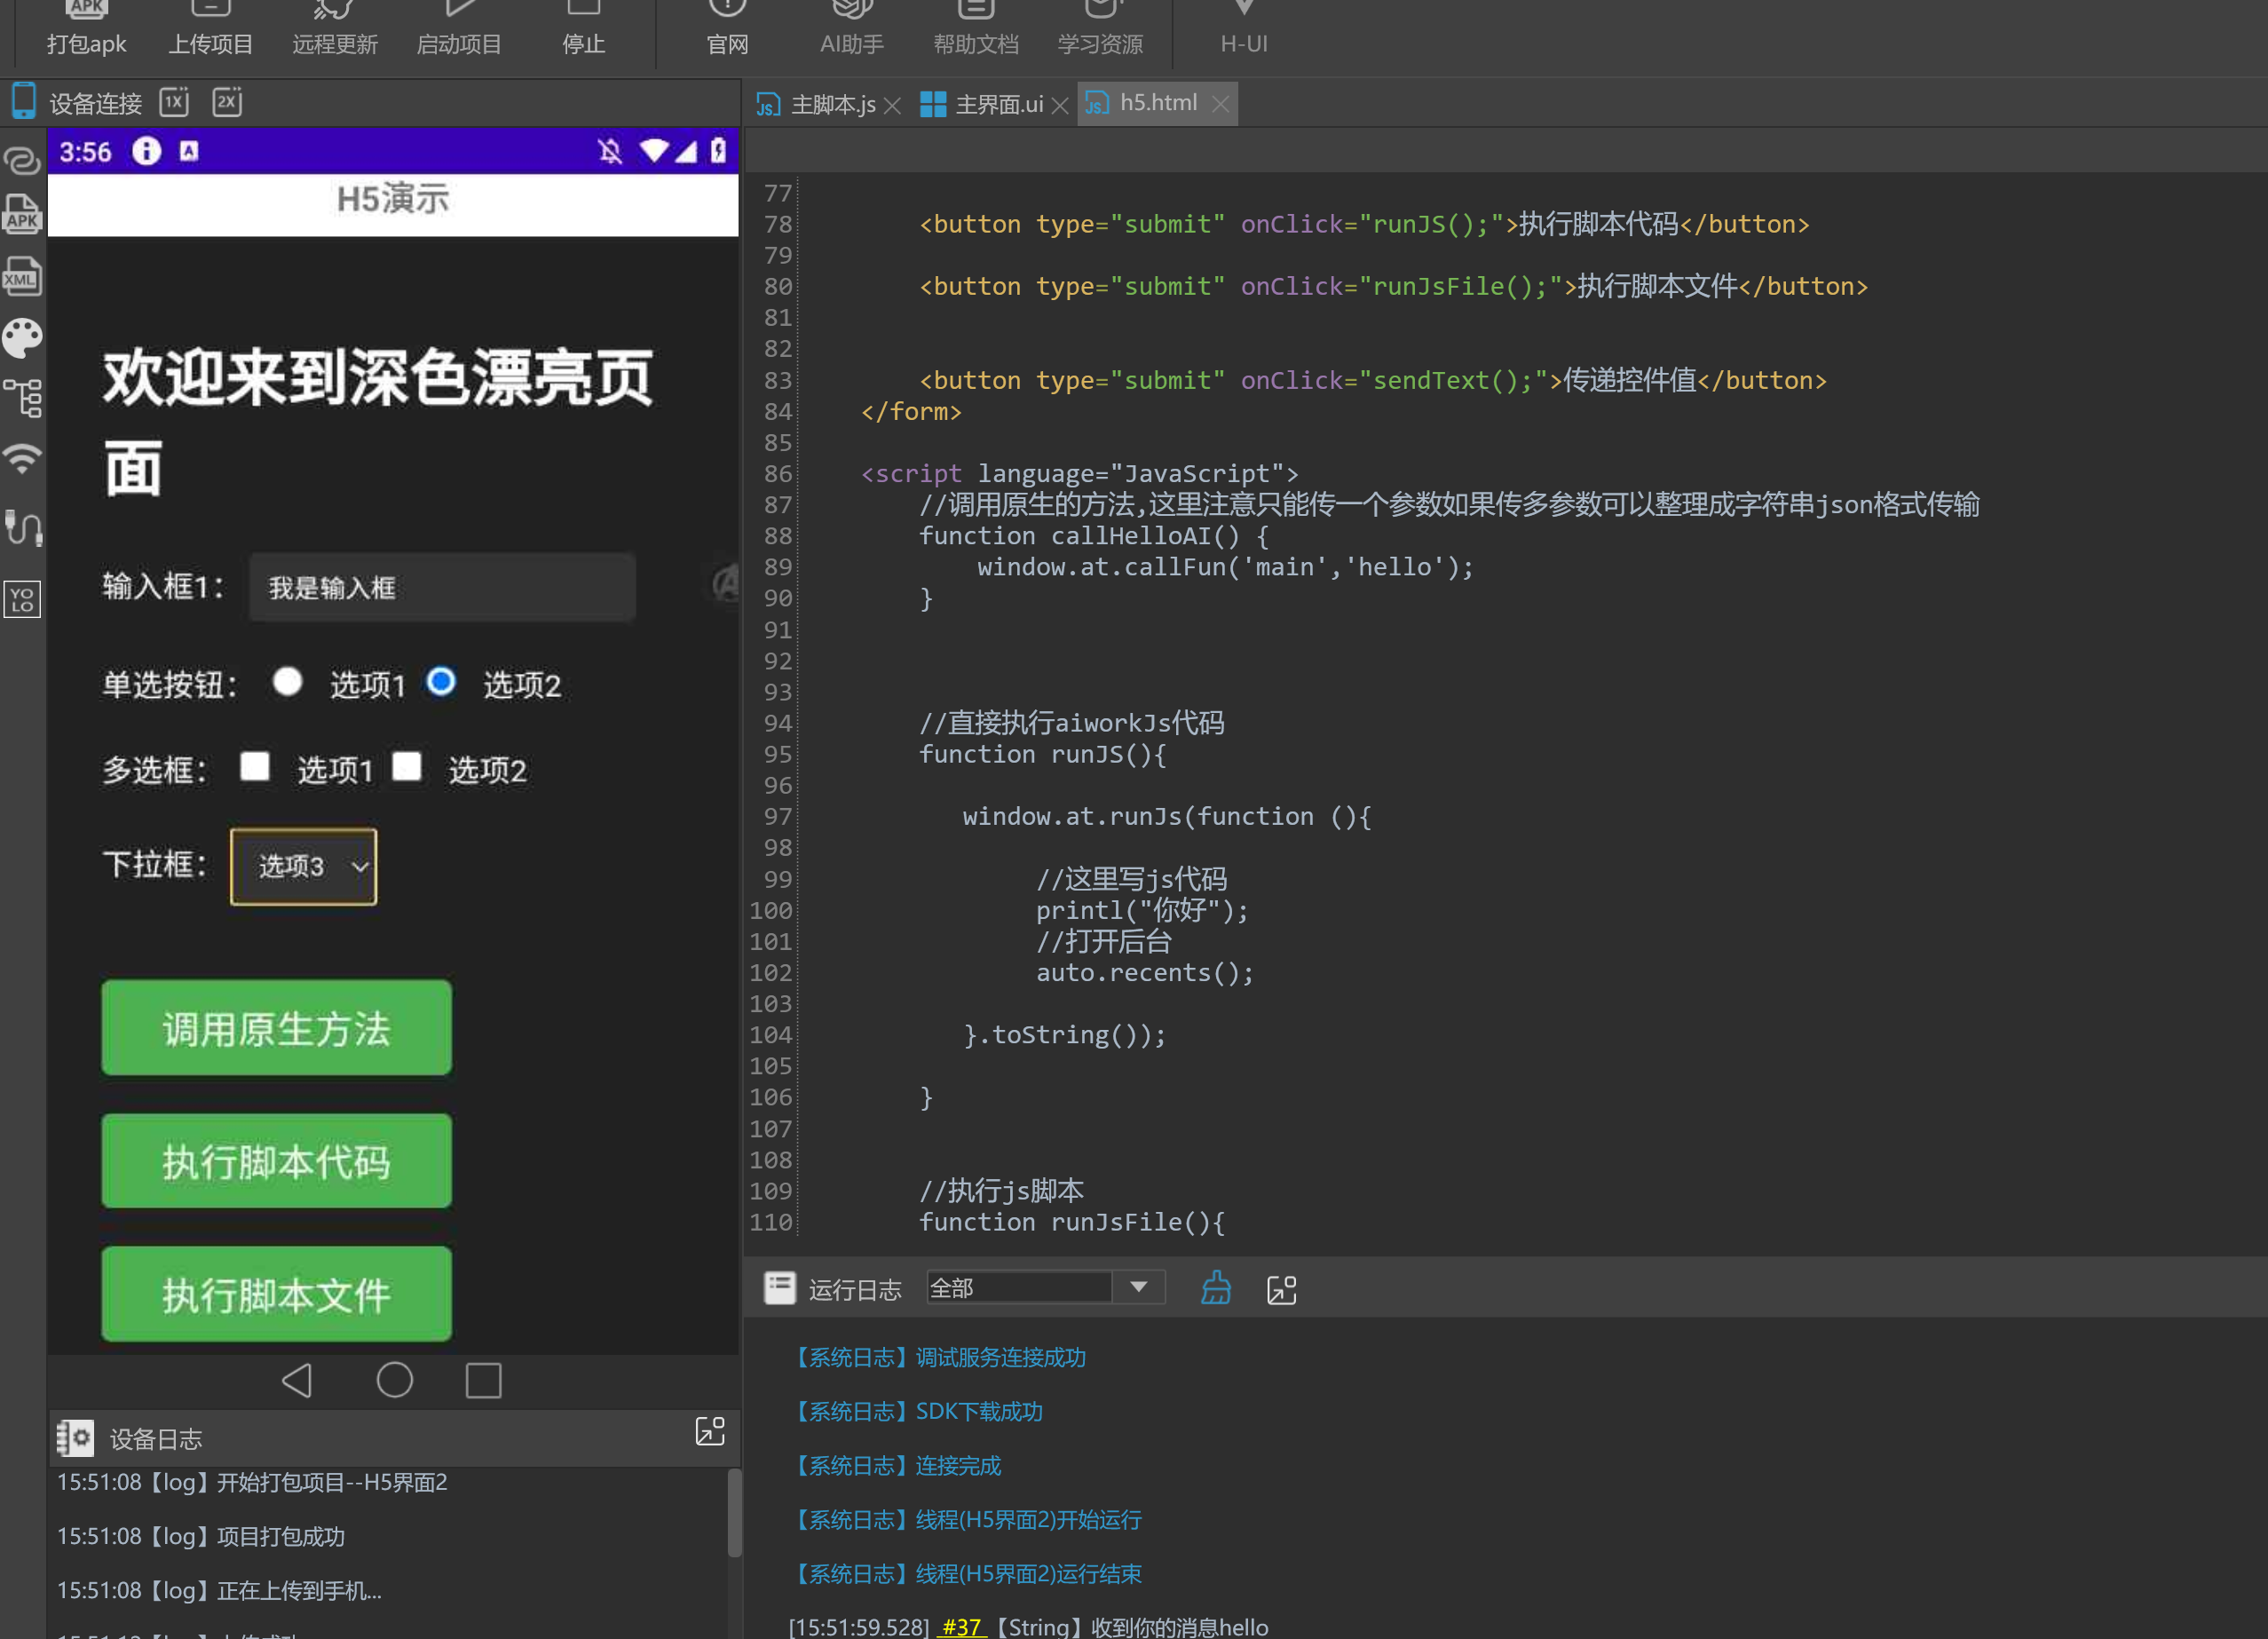
1.png

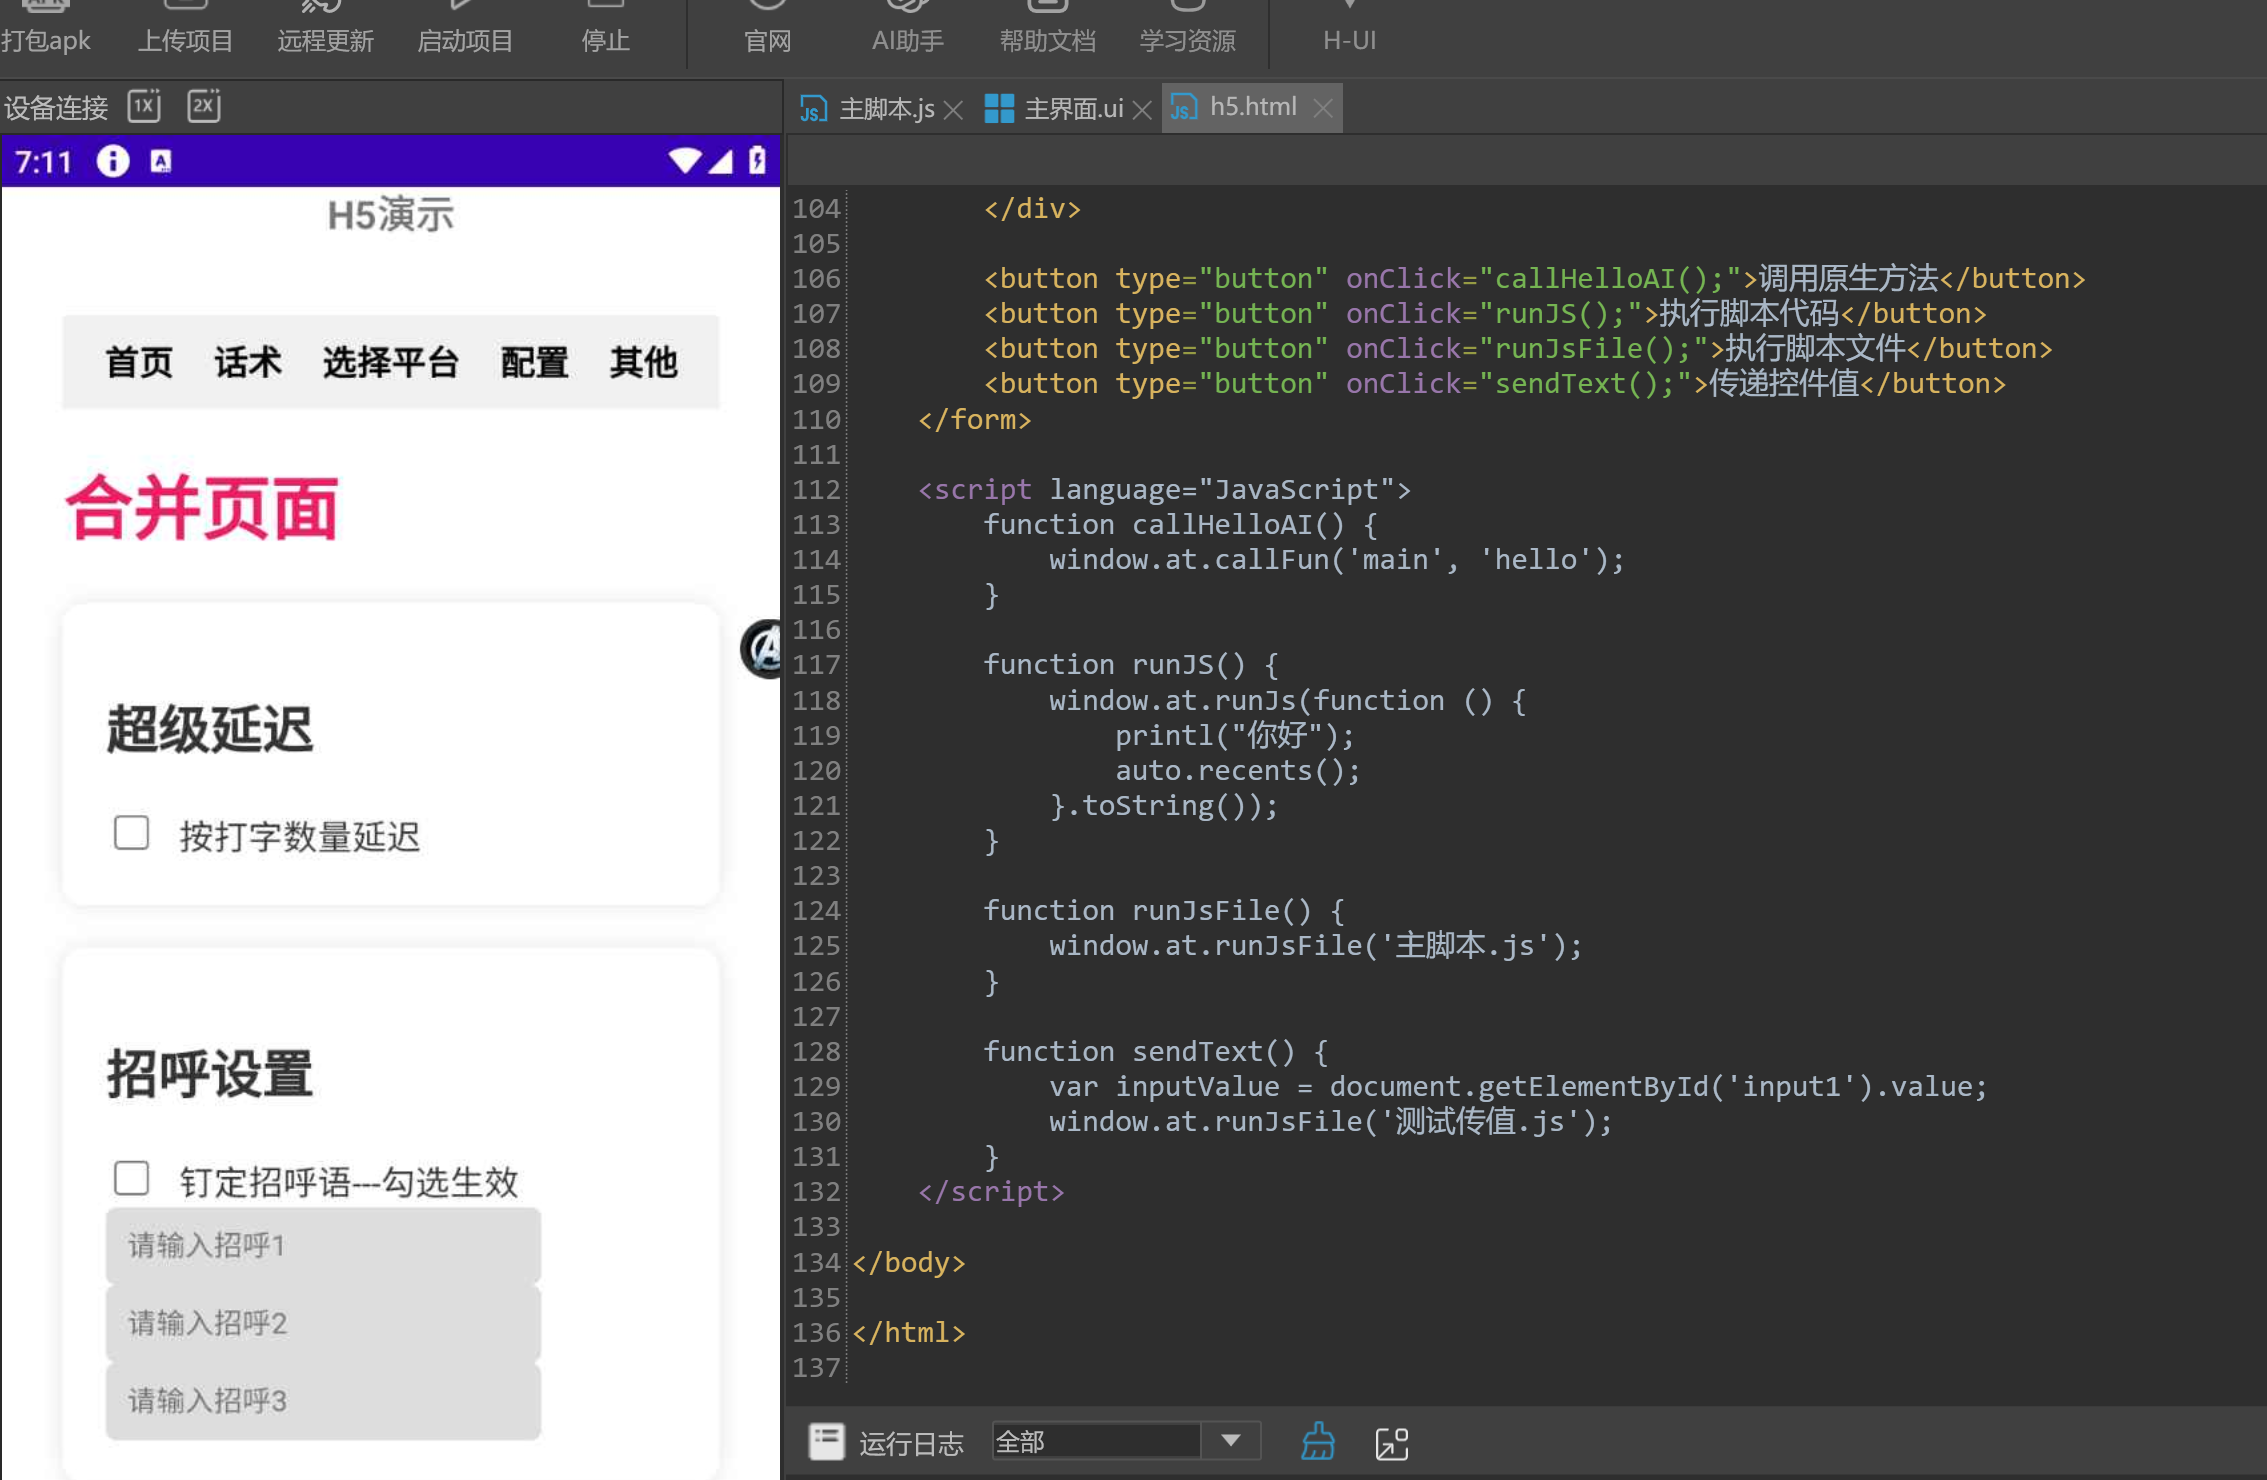
2.png


原生activity和h5交互案例.zip


void runJs(function code)h5执行app JS脚本

window.at.runJs(function (){
     //这里写ATjs代码
     printl("你好");
     auto.home();
}.toString());

void runJsFile(String file) H5运行APP JS文件

window.at.runJsFile('主脚本.js');

void callFunction(String funname,String arg) H5执行脚本方法

window.at.callFun('main',"hello");

String getRootPath() 获取项目根目录

window.at.getRootPath();

String getResourcesPath() 获取项目资源目录

window.at.getResourcesPath();

void setConfig(String path,String arg,String value) 存储数据
path:存储路径,例如/sdcard/1.txt;
arg:参数
value:存储值

window.at.setConfig('/sdcard/1.txt','a','1');
//例如存储到资源目录
let res=window.at.getResourcesPath();
window.at.setConfig(res+'1.txt','a','1');

String getConfig(String path,String arg,String value) 读取数据
path:存储路径,例如/sdcard/1.txt;
arg:参数
value:默认值,没有数据的情况下默认返回

window.at.getConfig('/sdcard/1.txt','a','1');

//从资源目录取数据
let res=window.at.getResourcesPath();
window.at.getConfig(res+'1.txt','a','1');

publicSet(String key,String value) 公共变量传参

window.at.publicSet('a','1');

//对应aiwork取值就是
publicData.get('a')

publicGet(String key) 公共变量读参

window.at.publicGet('a');


//对应aiwork写值就是
publicData.set('a','1')

完整HTML案例

<!DOCTYPE html>
<html lang="en">
<head>
    <meta charset="UTF-8">
    <title>方式一</title>
    <script language="JavaScript">
        function test() {

           window.at.runJs(function (){
                //这里写js代码
                printl("你好");
           }.toString());

           /*
           window.at.close();
           window.at.runJsFile('主脚本.js');
          */
        }
    </script>
</head>
<body>
<input type="Button" width="300" value="启动脚本"  onClick="test()"  />
</body>
</html>

APP调用H5:

首先获取web控件,例如web控件的自定义ID是web

//初始化一个activity页面
var ac = new activity();
ac.loadXML(`
<LinearLayout xmlns:android="http://schemas.android.com/apk/res/android"
    android:layout_width="match_parent"
    android:layout_height="match_parent"
    androidrientation="vertical"
 >

    <TextView
        android:layout_width="match_parent"
        android:layout_height="wrap_content"
        android:text="H5演示"
        android:textSize="18sp"
        android:textStyle="bold"
        android:gravity="center"
        android:paddingBottom="8dp" />

    <WebView
        android:id="@+id/web"
        android:layout_width="match_parent"
        android:layout_height="0dp"
        android:layout_weight="1" />

</LinearLayout>
`)

sleep.millisecond(毫秒 = 400);

var web1 = ac.findWebViewById('web');

加载网址loadUrl(url)

复制web1.url('/代码/h5.html');

执行h5的js方法,注意代码事字符串
String runWebJs(String jscode)
返回值:类似js中eval执行js代码的返回值,一般是返回最后一个变量的值

//让浏览器运行js代码
web1.runWebJs(`alert("123")`);

举报 回复